
How to Make DIY Vinyl Wall Art

How to Make Your Own Vinyl Wall Stickers
If you’ve been wanting to dress up your home or apartment’s walls with some custom wall decor why wait? Now’s the time to take advantage of advances in sticker technology and lower prices to boot. In today’s 6 Step How-To piece we recommend using ORACAL® 631 Exhibition Cal vinyl but you’re free to use whatever you’d like. Just a word of caution though: you don’t want to use high-tack, permanent adhesive vinyl on any painted or unfinished dry wall as it will remove your paint or paper when you try to peel it away. 631 Series Calendered vinyl is designed especially for interior applications and is meant to be removable which is why we recommend it over any other vinyl film on the market for making your own wall decals.
Six Steps to Removable Vinyl Wall Decals
Although most tutorials online will show you how to make DIY wall art using vinyl cutters like the Cricut or Silhouette Cameo series machines, we wanted to show you how you can get great custom wall decals without using anything other than household supplies and a few sheets of uncut vinyl.
- Test for Adhesion: Take a piece of your vinyl, stick it firmly to a hidden area on your wall, and then peel it back up. Use a plastic squeegee (or a library card) to press it firmly onto the surface. Also test that your tape can be removed easily. By doing this, you’ll save yourself heartache and your deposit to boot!
- Draw a Sketch of Your Wall Graphics: Draw a loose sketch of the area you want to work in. You can now scan or photocopy it and doodle several designs to see what you like. Use tracing paper over top of your basic diagram or trace your original diagram with marker, then draw your ideas in pencil.
- Tape and Draw on Paper Stencils: Proceeding one section at a time while overlapping them and joining up the gaps in between at the end. Using the pencil, sketch the design in the areas you want it to appear.
- Cut Out Decals Using Stencil: Cut your newsprint graphic out, to make a stencil. You can now trace the stencil onto the back of the vinyl with marker. The reverse the newsprint because you’re drawing on the paper side of the vinyl decal.
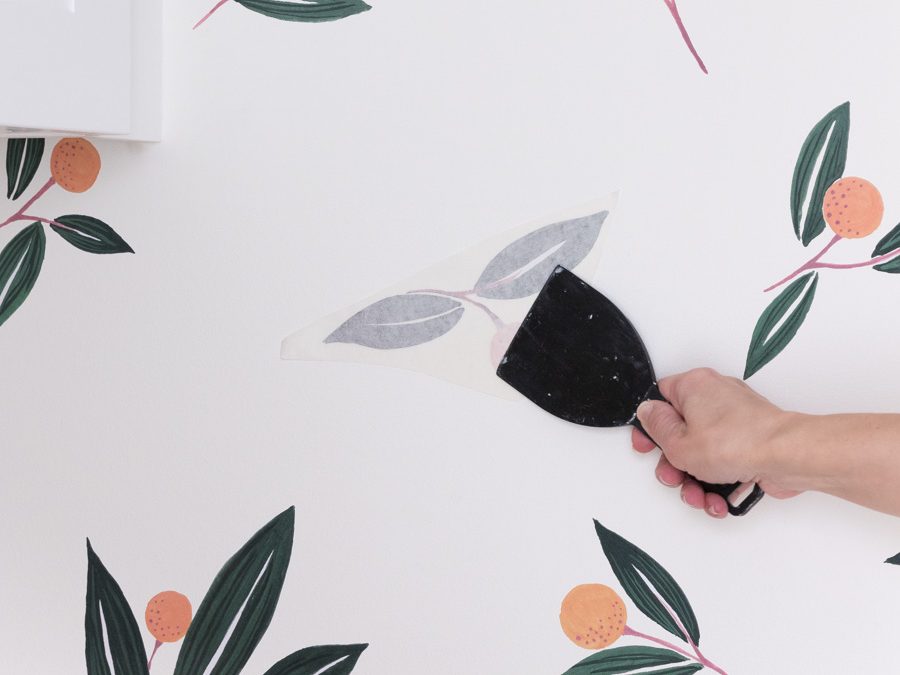
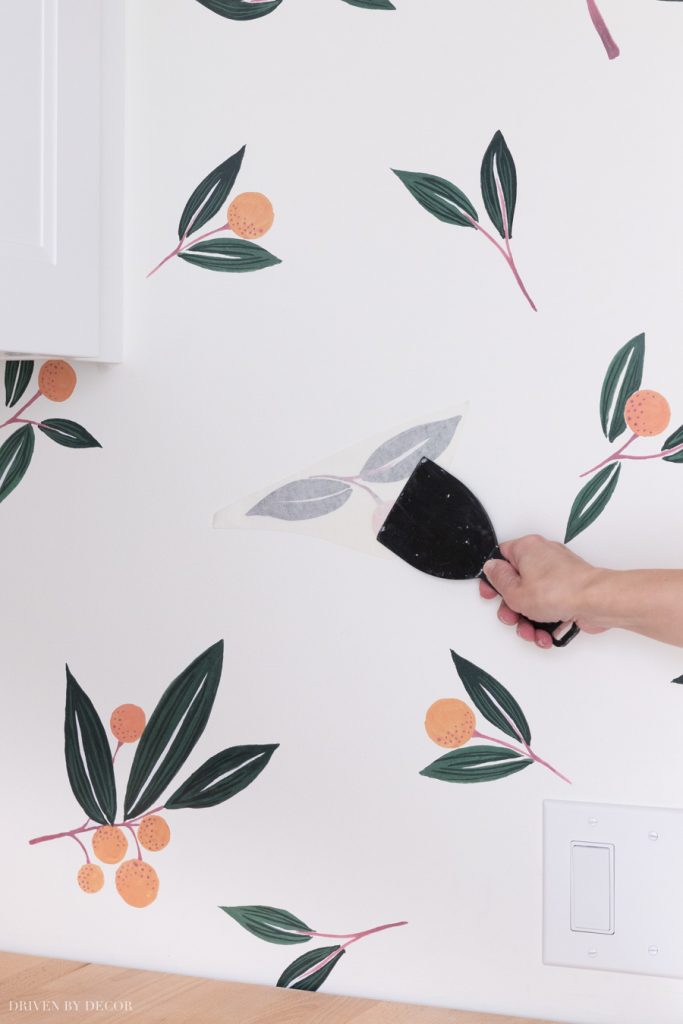
- Peel, Stick and Squeegee: Peel the vinyl off of the paper backing. Depending on the size of the decal you may only want to pull off a few inches of the backing and fold it under so you can pull down and remove it as you squeegee on the wall decal.
- Enjoy Your DIY Wall Art Stickers: With this ORACAL® 631 wall art vinyl you get three years of durability with clean removability.
Suggested Applications for DIY Vinyl Wall Decor
Now that you know how to do it, let’s help you brainstorm some ideas about where to do it. The following list isn’t exhaustive in any sense but we hope it will help to get your creative juices flowing.
- Nursery Wall Art
- Bathroom Wall Decals
- Mirror Wall Stickers
- Kitchen Wall Decals
- Wall Decals for Bedrooms
HIRE US
If you want specific details on vinyl wraps, give us a call today or visit our website! We look forward to working with you to assist you with your vehicle wrap.
Concept Wraps provide all forms of vehicle wrapping services. Contact us today to get the best graphics and wrapping services for your vehicle.
Find out more vinyl wrapping works in our Instagram and gallery.