
Cleaning for Vehicle Wrapping
For many DIY installers and first-time wrappers, proper cleaning and preparation are the most overlooked steps of the process of vehicle wrapping. Most DIY wrappers buy a roll of film and think they can just unroll it, remove it from the liner and start wrapping. Let us be the first people to tell you: you cannot do this.
Without an adequately cleaned application area (a garage for example) and a thoroughly cleaned and prepared vehicle your chances of getting good results are very close to zero. Why buy an expensive roll of 3M™ 1080 Series film only to ruin it by failing to do the most basic prep work?
In today’s post we’ll go over the basics of cleaning and preparation as well as cover some of the tips that pro-installers use to get the best possible results.

Wash Your Ride the Day Before
The simplest and best thing you can do to prepare for vehicle wrap installation is to bring your car into a car wash. Don’t use anything fancy like protectants or waxes as they can interfere with the vinyl wrap’s ability to adhere. And why should you do it the day before? To give it the time it needs to dry, wait twenty-four hours from the time of washing until wrapping.
Shiny Wheels Spell Trouble
If your vehicle still has shiny wheels after a wash it means that silicon-based or oil-based protectants have been used on them. Why is this a problem? Simply because the wheels literally spray these substances onto the side panels of the vehicle making your job of cleaning and preparing the surface doubly hard.
Go the Extra Mile
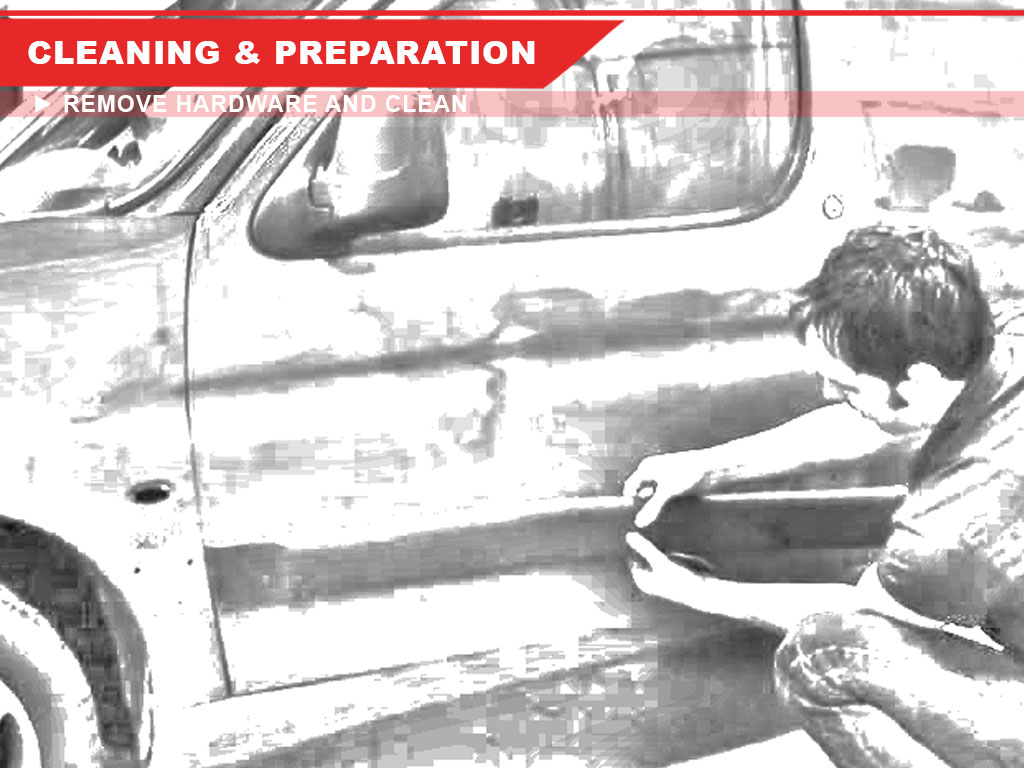
You may not want to, but for the best results, go the extra mile and remove hardware where dirt and grease can hide. This means that you want to remove all nozzles, emblems, side moldings and reflectors as a lot of grime holes up in there.
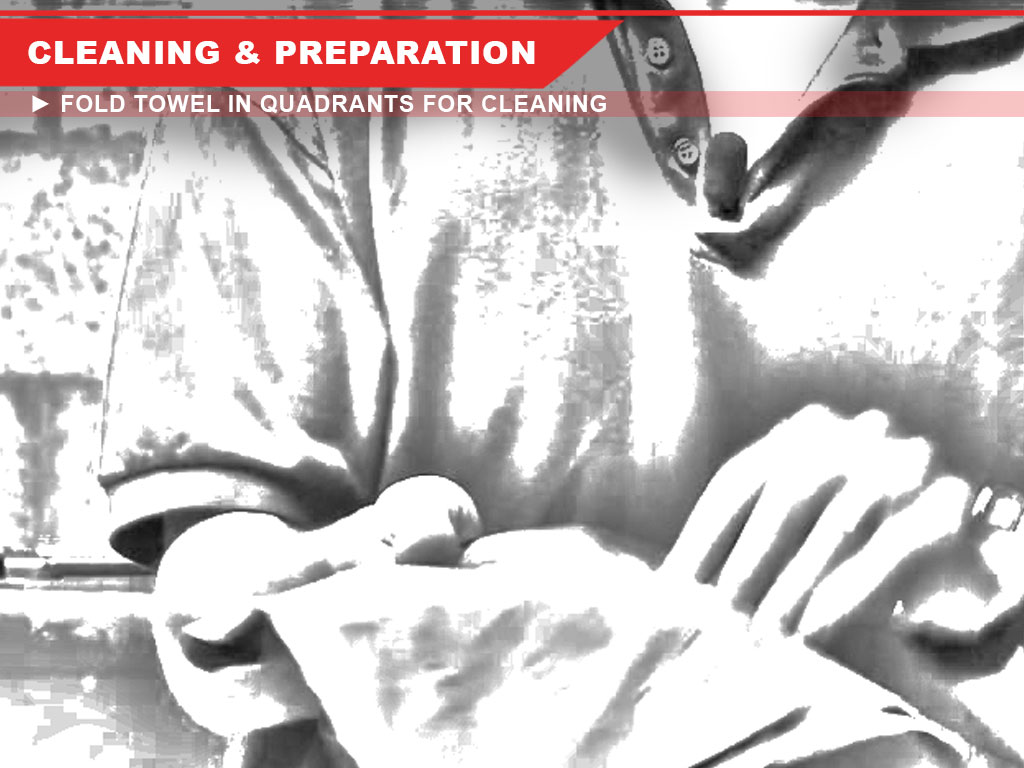
Fold Up Your Towel
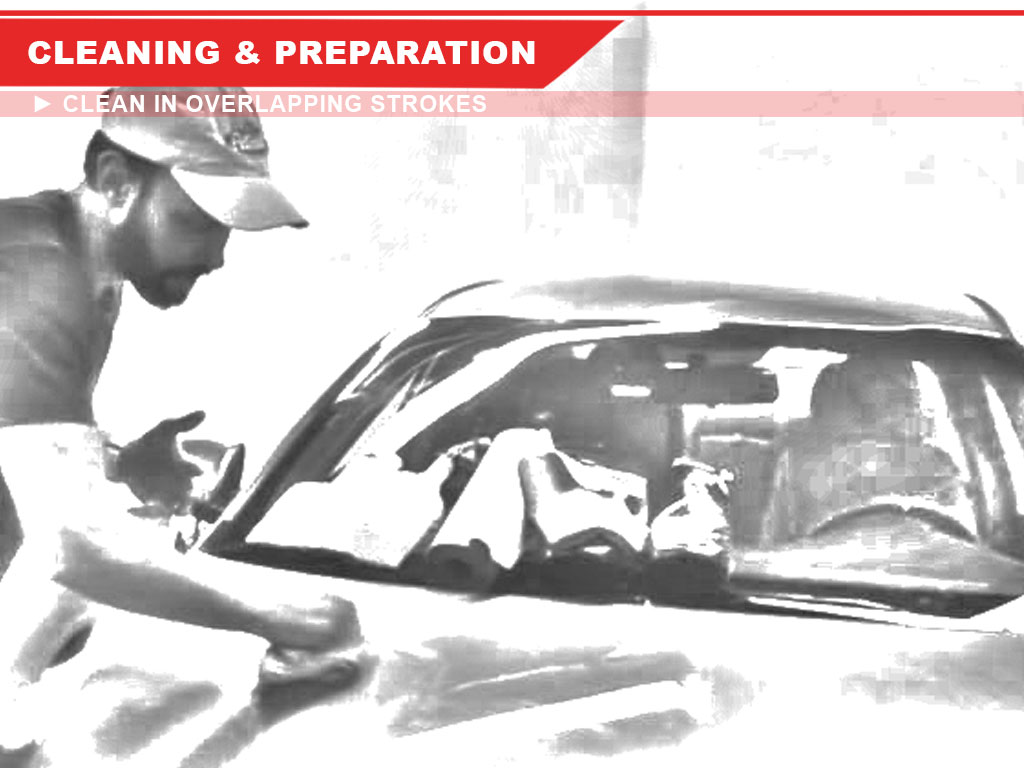
Don’t throw in the towel just yet, fold it up instead! When you fold up your micro-fiber cloth or towel you can get 8 sides for the price of two. Proceed top clean each section of the vehicle and flip to the next side when you’re done. Not only will you save time but you can know with certainty which areas have been thoroughly cleaned. Don’t forget to overlap your cleaning strokes too on wide areas and clean open doors and edges in order to completely cover all areas.
You should use both a general cleaner and a degreaser or an all-in-one. There a number of these products on the market so be sure to do a little homework on which you need and which will work best for your application area. And, as always, be sure to use the proper safety gear like gloves and goggles to avoid potential damage to skin, eyes and mucous membranes.
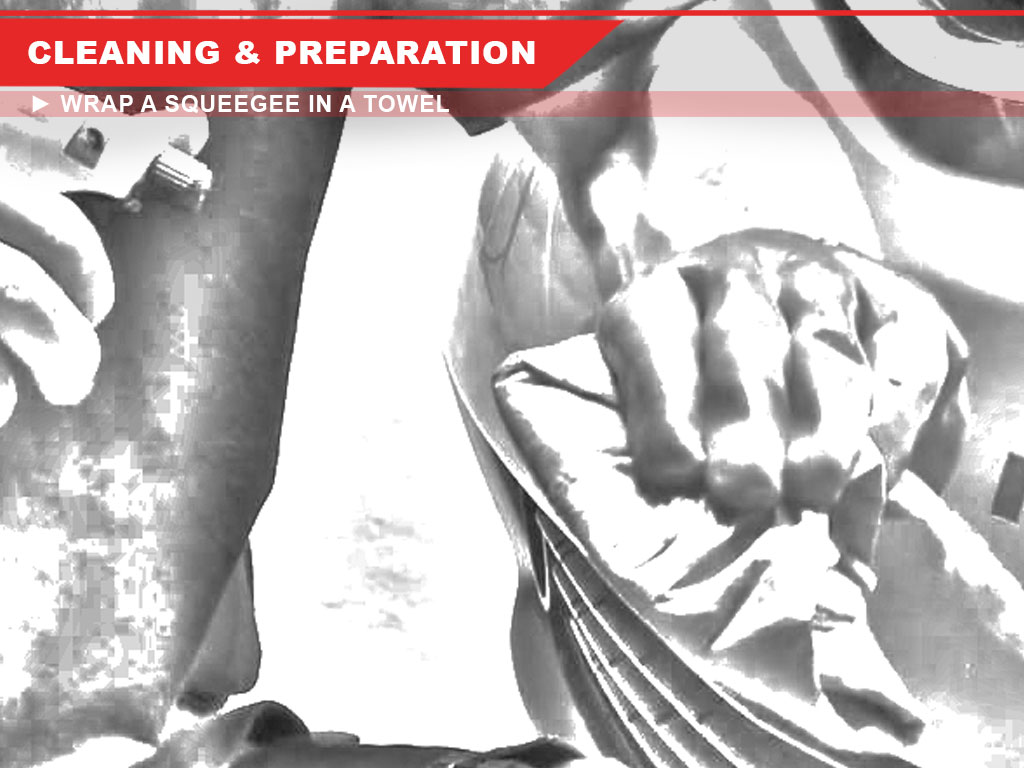
Don’t Neglect the Details
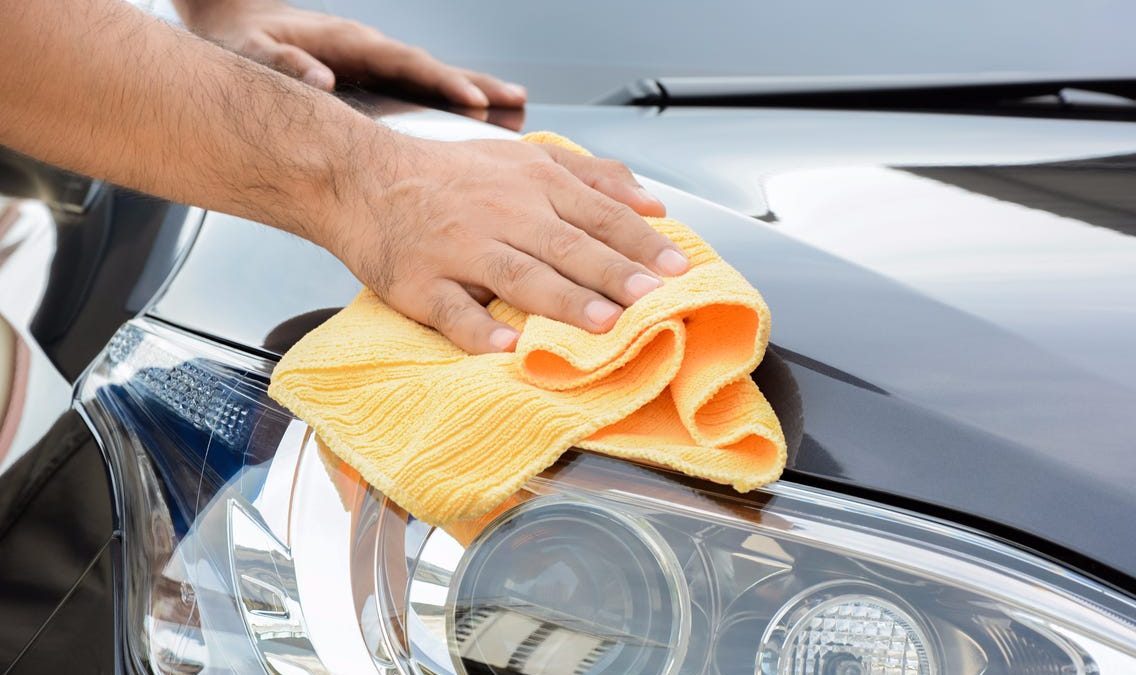
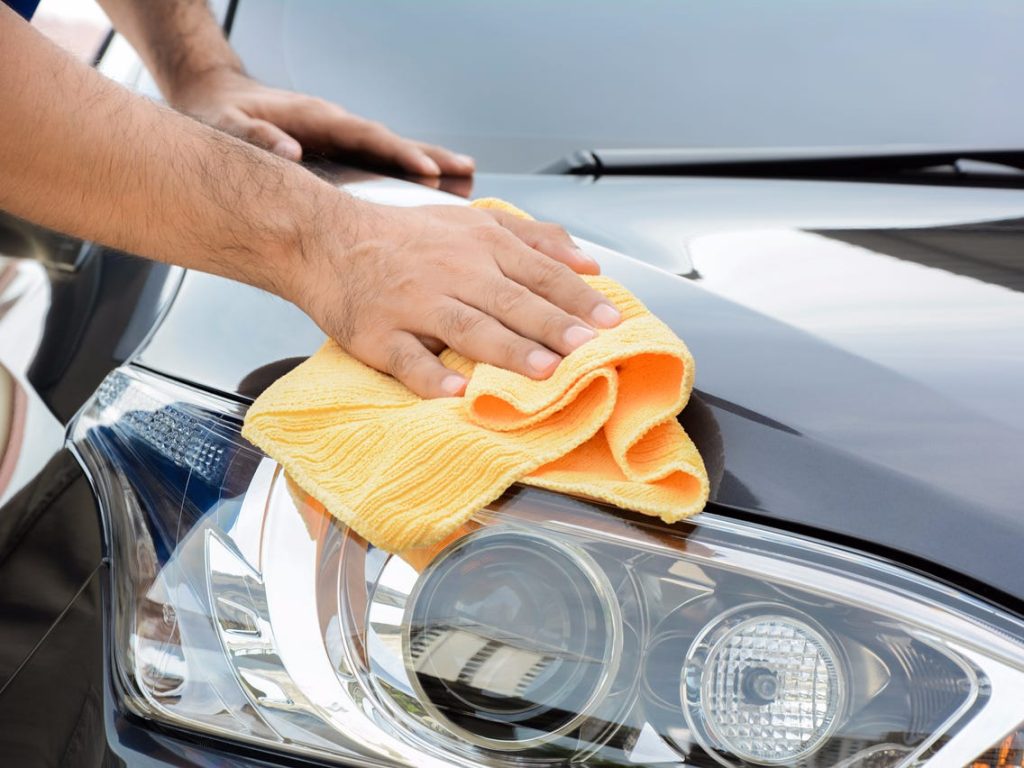
Use a squeegee wrapped in a towel to get into the areas where your fingers can’t reach. Examples of these areas are the seams between panels, headlights, taillights, bezels, etc.
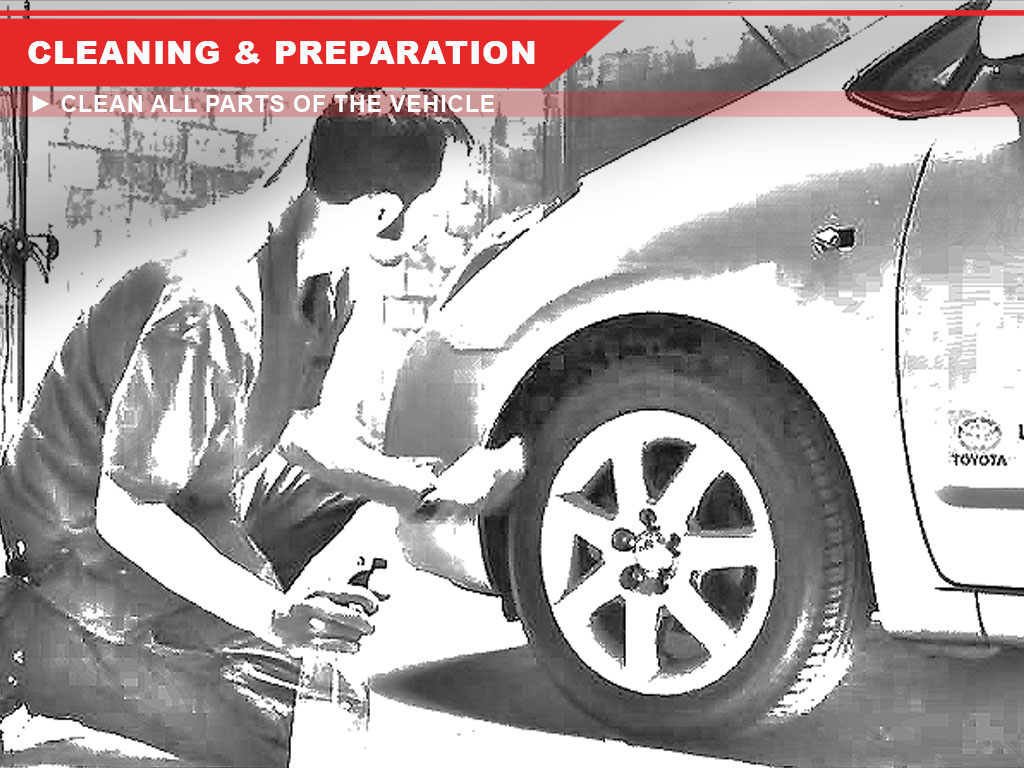
Clean Everywhere, One More Time
Unless you want to ruin your wrap job clean everywhere. That means under the wheel wells, under the hood and every surface of the car that can be accessed, even if it’s not being wrapped, like the windows and glass. Why risk the wrap being damaged when you can prevent it with a little extra cleaning?
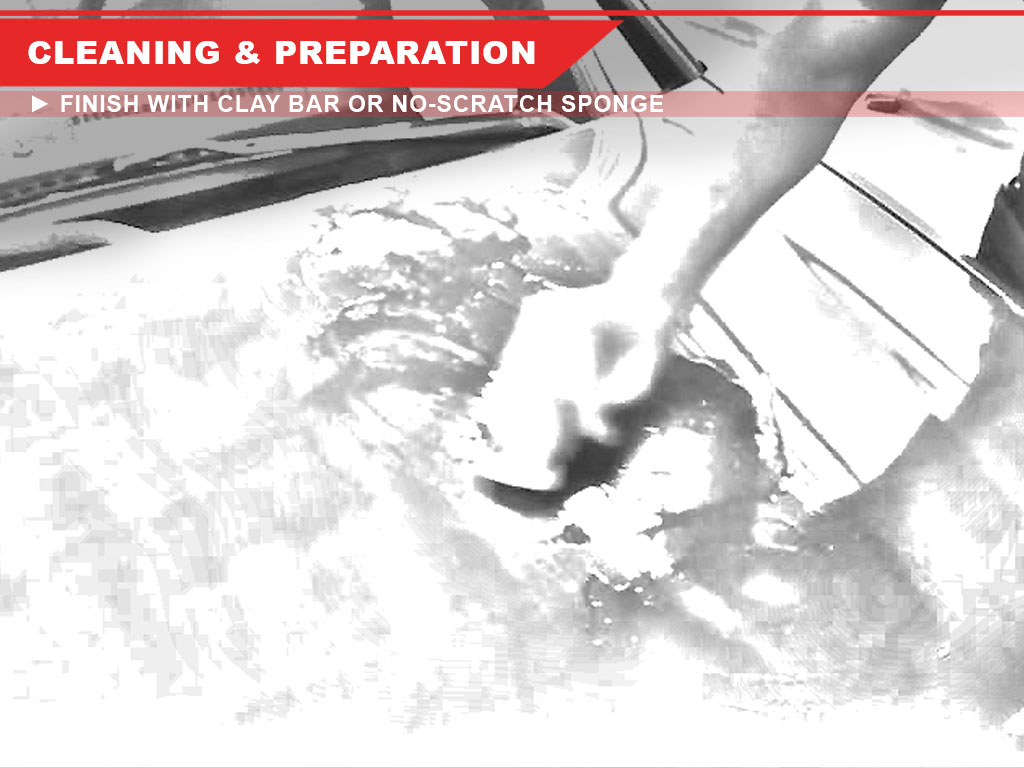
Finishing Touches
Use a clay or scratchless sponge (especially on older cars) to remove any remaining blemishes or imperfections. Doing so will give you the best possible results.
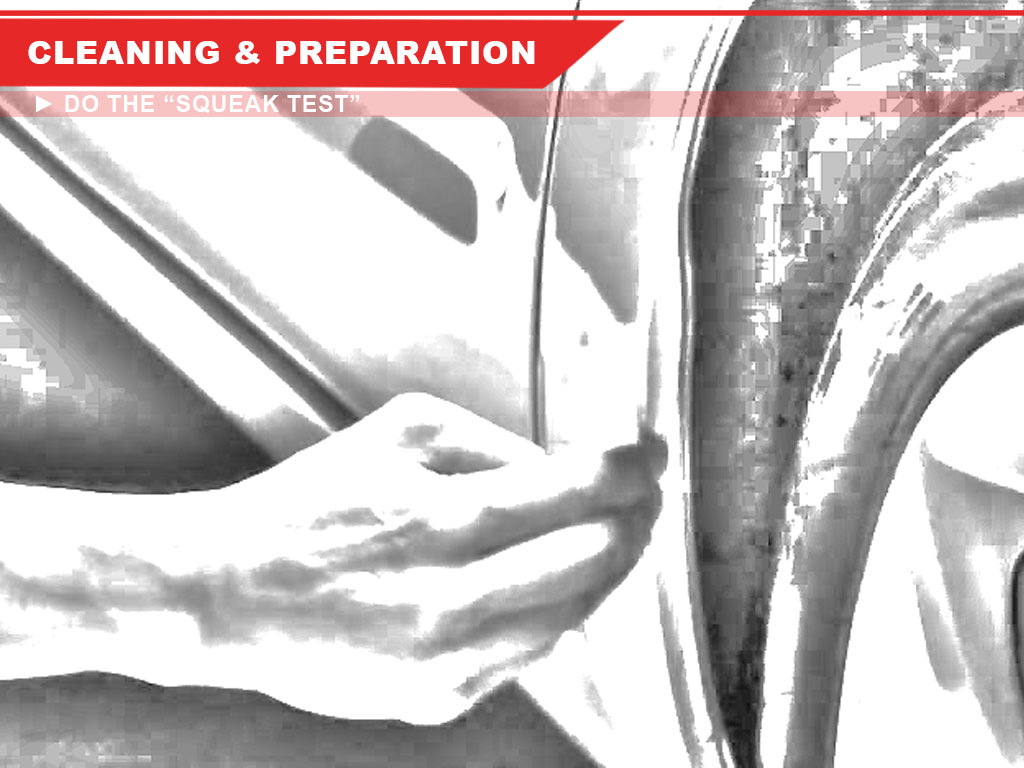
Squeaky Fingers
Your fingers can do the talking for you and will tell if your ride is wrap ready. Slide your index finger across the application surface and if it squeaks, you’re good to go. If it is greasy and slides then you need to re-clean. We’ve covered a lot of ground so let us sum up with a quick list:
- Basic car wash (no waxes or protectants) the day before because it allows for complete drying.
- If wheels are shiny that means they’ve use a protectant silicone-based or oil based which means that it has been splattered along the whole side of the body.
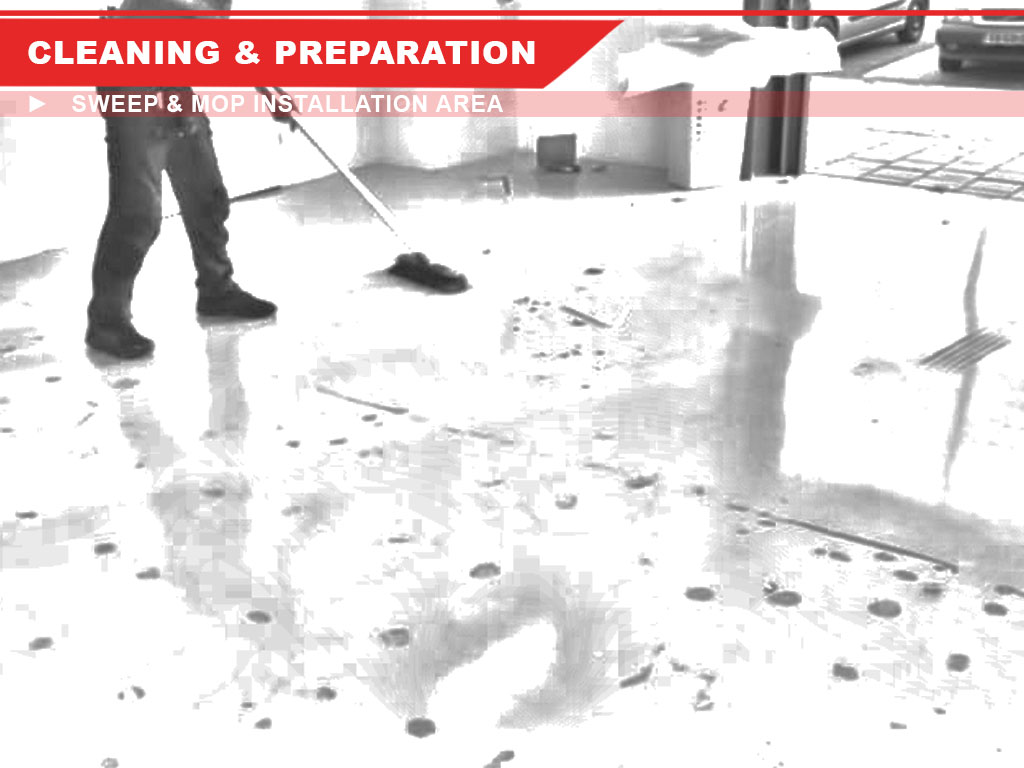
- Always clean your space before attempting to install the wrap. It’s best to sweep and mop before you bring the car into the space, especially in winter due to the electro-static charge of the vinyl wraps that will attract dust.
- Remove hardware and clean it (molding, nozzles, side lights).
- Use a micro-fiber or paper towel folded into quadrants so you can flip it over as it gets dirty.
- Use overlapping strokes when cleaning, clean open doors and edges too.
- Use a general cleaner and a degreaser or an all-in-one.
- After initial cleaning, wrap a squeegee in the towel and dig it into creases and tight areas where your finger can’t reach.
- Clean under the hood, under the wheel well, clean all of the windows and the entire car.
- Use a clay bar or scratch less sponge.
- Use the “squeaky finger” check. If it squeaks, it’s good to go.
How to Dry a Wet Car
If you forgot to wash the car the day before you can always wash it immediately before wrapping and then use these quick steps to get the job done:
- 1. Dry by hand deep inside the body of the car with a squeegee and a lint free towel.
- Use heat gun to dry around the molding, gaps and door handles.
- Open and slam closed the doors.
- It’s only dry when the towel is dry.
- (Optional) Use an air compressor to blow out water around head and taillights and molding.
Once you’ve figured out how to properly clean and prepare your vehicle for wrapping be sure to check out our posts on heat gun tips and cold pre-stretching techniques too so you can get the best-looking results and make you the envy of your friends and rivals in no time.
HIRE US
If you want specific details on vehicle wraps, give us a call today or visit our website! We look forward to working with you to assist you with your vehicle wrap.
Concept Wraps provide all forms of vehicle wrapping services. Contact us today to get the best graphics and wrapping services for your vehicle.
Find out more vinyl wrapping works in our Instagram and gallery.